Did you know that the violin has over 70 working parts? Did you know that most of them aren’t even glued on? Most people don’t need to know each part, but we will go over the key parts in this quick video.
If you can’t remember all of the parts your teacher tells you when you first start, that’s okay. The most important parts to remember are the strings, the fingerboard, the bridge and the chinrest. These are the parts we use to play the instrument.
The next important parts are the pegs and fine tuners. We use these to string and tune the instrument, so it’s important to know not to use these until your teacher shows you how.
I have removed the strings from this instrument here, so you can see how everything fits together. The pegs fit into the peg box, which is part of the scroll or head, and you can see how they are tapered. They work as a wedge, like a doorstop. If you or your parents need to use the pegs, you need to remember to push in (gently) as you turn the peg so that it stays.
At the end of the fingerboard is the nut. The nut is a separate piece of ebony that is raised above the fingerboard so the string has room to vibrate while you play.
The neck is where the fingerboard is attached. It is a separate piece from the fingerboard, which is usually carved from ebony. The neck is usually colored like regular wood, and is attached to the head and on the top of the body.
The body is the main part of the instrument, and has different parts we call the shoulders, C-bout, lower bout, front piece and back piece. This is the main part where glue has been used to hold the pieces together. These seams can come open in the glue as the weather changes, so it’s important to have your instrument checked by luthier at least once a year to repair any openings. You can also get cracks in the body, which can affect the tensile strength of the wood. If you get a crack, even a small one, be sure to have your instrument looked at by a luthier as soon as possible. Small cracks can be maintained to prevent further damage.
At the bottom of the instrument, holding the ball end of the strings and looped over the end button, is the tail piece, where the fine tuners are. The pegs, bridge, tailpiece and end button are all held on by the strings. It’s important to let your teacher know if the bridge has fallen over or broken, because it may need adjustment. Most teachers can place a bridge back in place, if it has fallen over. If the bridge is broken, it will need a new one fitted by a luthier.
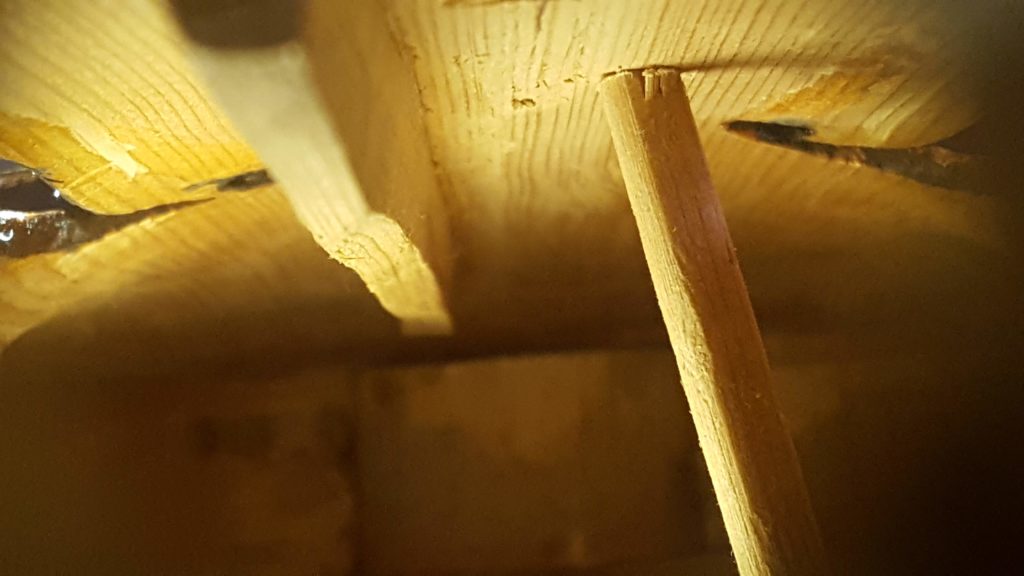
Now, inside, we have several important parts, too. On the G-string side of the front piece (or C-string side, for violas) is a bass bar. This is glued onto the front piece, and helps support the wood during the bigger vibrations of the low string. On the E-string side (A-string, for violas) is the sound post. This piece is wedged between the front and back pieces, without glue, and support the open cavity under the pressure of the bridge. It also assists in transferring the vibrations while you play, so you get the best amplification possible. The position of the sound post is important to the sound quality of your instrument. Some teachers may be able to adjust or replace a sound post, but you may need to take it to a luthier if your sound post falls. If your sound post does fall, DO NOT tune your instrument or tighten the strings. Leave it as it is, and contact your teacher or a luthier immediately.
I think that covers the key parts of your instrument. There are, of course, many more details that go into the making of an instrument. But knowing these parts will help you maintain the most basic care of your instrument.